Expertly hand wash your car
6/15/20252 min read
How to Expertly Hand Wash Your Car Without Causing Swirl Marks
Washing your car by hand might seem straightforward, but using the wrong technique can leave behind swirl marks, scratches—and even damage your paint or ceramic coating. At The Coating Lab, we help car owners in Auckland protect their vehicles by sharing expert-level tips that maintain a swirl-free, mirror finish.
Whether your car is freshly detailed or ceramic coated, this professional wash routine is the safest way to clean your vehicle at home while preserving that showroom shine.
🧰 What You’ll Need for a Safe, Professional Hand Wash
High-pressure water blaster
Foam cannon or foam sprayer attachment
pH-neutral foam soap (ceramic coating safe)
Premium microfiber or wool wash mitt
2 buckets (with grit guards, if possible)
Genuine leather chamois
Leaf blower (optional but highly recommended)
💡 Pro Tip from The Coating Lab: Always use products designed for ceramic coating maintenance—especially if your vehicle has a professional finish from our ceramic coating Auckland services.
🚫 Never Dry Wipe Your Car
Before you even think about wiping dust or bird droppings off your car—don’t. Dry wiping grinds particles into the paint, creating fine scratches and compromising any protective coatings.
🧼 The Coating Lab’s Expert Hand Wash Method
Step 1: Prep Your Buckets
Use the two-bucket method—one bucket with clean water, the other with soapy water. Grit guards at the bottom help trap dirt and reduce the risk of transferring debris back onto the paint.
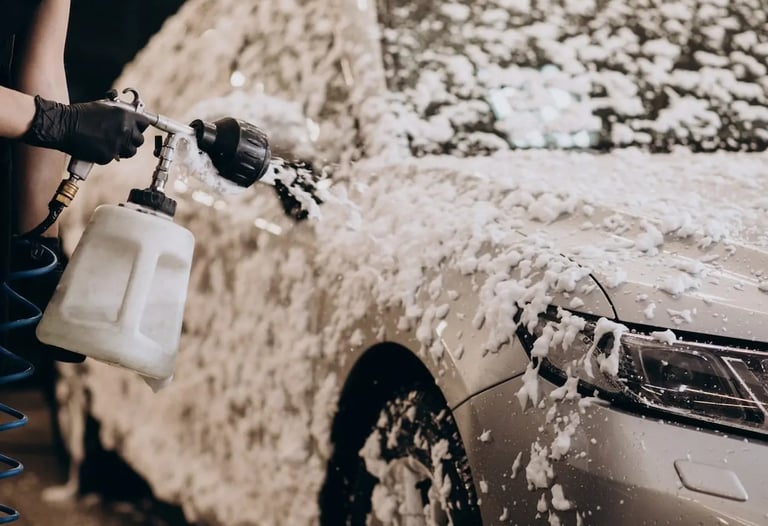
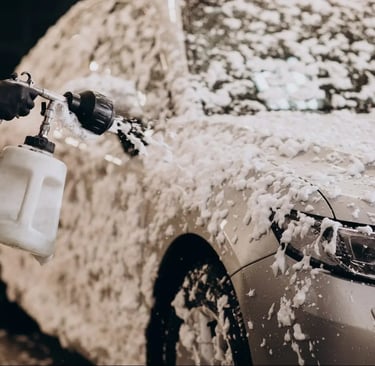
Step 2: Foam the Entire Car
Use your foam cannon or sprayer to apply a thick layer of ceramic-safe foam soap. Let it dwell for 2–3 minutes. This loosens surface grime and minimizes abrasion during contact washing.
Step 3: Pressure Rinse from Top to Bottom
Use a high-pressure water blaster to rinse off loosened dirt, always working from the roof down. This clears away as much debris as possible before you touch the paint.
Step 4: Contact Wash – Panel by Panel
Wash your car starting from the top down (roof, glass, upper panels). Work one section at a time using light, straight-line motions—never scrub.
🔁 Rinse your wash mitt in the clean water bucket after each section to remove dirt before reloading with fresh soap.
Step 5: Wash the Wheels Last
Wheels collect brake dust and road grime—always clean them last to avoid spreading dirt to your paint. Use a separate mitt if possible.
Step 6: Final Rinse
Thoroughly rinse the entire car, again starting from the top. This ensures all soap and loosened grime is washed away cleanly.
Step 7: Dry with Care
Drying is where most swirl marks occur. Use a genuine leather chamois for gentle, effective drying.
Lightly glide the chamois over the paint
Avoid pressing or rubbing
Use a leaf blower to clear water from crevices, mirrors, grilles, and emblems
✅ Final Thoughts: Preserve Your Finish the Right Way
Following this expert wash routine not only keeps your vehicle spotless—it also protects your ceramic or graphene coating, extending its lifespan and performance.
At The Coating Lab, we use and recommend ONYX ceramic-safe products that pair perfectly with our ceramic coating Auckland services. Whether you’re cleaning a freshly detailed vehicle or maintaining a long-term coating, this method ensures flawless results every time.
Connect with us
CONTACT
Business hours
Copyright © 2020-2026 The Coating Lab. All rights reserved.
Appointment Required
Tuesday to Saturday:
9:00 - 17:00
Public Holidays: Closed